
Add Component
Overview
The Add Component command creates a new, uniquely named copy of a selected part or subassembly and then starts placement of that new file into the active assembly. It is designed for building assemblies where each placed component should live inside the current assembly’s folder and follow the current assembly’s naming rules (prefix + unique numbering), rather than referencing files from other jobs, libraries, or template locations.
This command is especially useful for placing Templates components, but it works with any valid Inventor part or assembly file (including files from different project workspaces). When you run Add Component, the tool copies the selected file into the active edit document’s folder, applies the active assembly’s prefix, and (when applicable) copies nested referenced files so the new assembly instance is self‑contained.
Before using Add Component, the active assembly must have a valid prefix. If a prefix cannot be found, the command stops and nothing is changed. For a detailed explanation of how prefixes work and how to structure your file names, see File Names. Using a prefix is strongly recommended so copied components can be named uniquely and remain organized.
If any referenced files are static or not located in the assembly folder, they may not be copied depending on the rules used by the copy engine. These situations are handled as part of the copy process and should be reviewed as described in Static and Library Files.
Usage Instructions
- Ensure the active assembly is saved and follows your prefix naming convention (see File Names).
- Click Add in the Create suite.
- Select the part or subassembly file you want to copy into the current assembly folder.
- When placement begins, position the new component in the assembly and finish placement.
- Save your assembly (and any new files, if prompted).
Troubleshooting
- Missing assembly prefix — cannot add component. The active edit document’s file name does not contain a valid prefix, so the tool will not copy/rename. Fix the assembly file name to include the correct prefix and retry.
- Placement was canceled. If you cancel placement, the new file may still have been copied to the assembly folder. If you want the component, rerun Add and place it, or use Place Pick with the copied file.
- References did not copy as expected. Check how static and library references are treated (see Static and Library Files) and confirm referenced files are accessible.
- Unexpected errors during copying. Ensure source files are not read-only/locked and that you have permission to write into the active assembly folder.
Examples
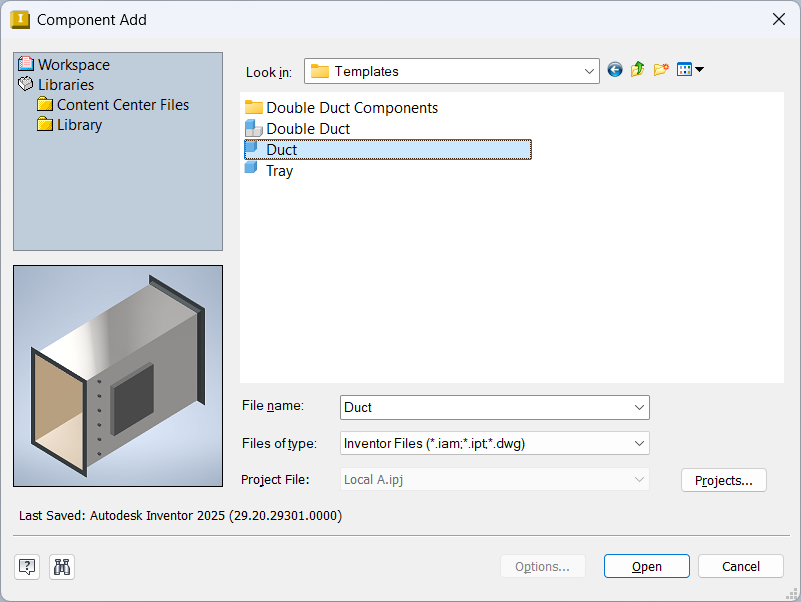
Add a template component
Use Add Component to start from a Templates file. The tool creates a new copy in the active assembly folder with the current prefix and then places it into the assembly.
Copy a subassembly from another job folder
For example, copy “2404-TC – Booth Walls” from a “TC Booth” folder into a new assembly “2404-CC – Booth Walls” in a “CC Booth” folder. The added files are copied into the new assembly folder and renamed with the new prefix (see File Names).
Bring in a design that contains static/library references
If the source file references shared/static components, review Static and Library Files so you understand which files will be copied and which will remain referenced.